Difference between revisions of "UCD Carto"
From TheInterWiki
| (One intermediate revision by the same user not shown) | |||
| Line 31: | Line 31: | ||
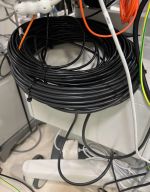
*Plug in Baylis machine to power | *Plug in Baylis machine to power | ||
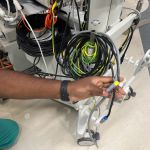
[[File:STCarto5.jpeg|thumb|150px|left|Baylis cart]]<br style="clear:both" /> | [[File:STCarto5.jpeg|thumb|150px|left|Baylis cart]]<br style="clear:both" /> | ||
| + | |||
| + | ===ICE ultrasound=== | ||
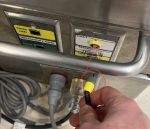
| + | *Plug in power | ||
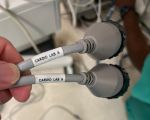
| + | [[File:STCarto4.jpeg|thumb|150px|left|ICE US cables]]<br style="clear:both" /> | ||
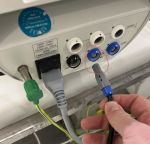
| + | *Connect data cables | ||
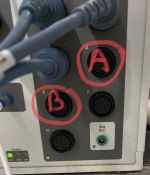
| + | [[File:STCarto3.jpeg|thumb|150px|left|Data cables]]<br style="clear:both" /> | ||
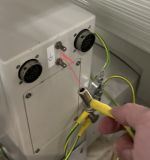
| + | *Connect video cable | ||
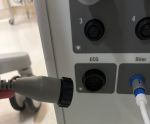
| + | [[File:STCarto2.jpeg|thumb|150px|left|VGA cable]]<br style="clear:both" /> | ||
| + | |||
| + | ===Check Carto cables=== | ||
| + | *Double check Carto cables on front of system. Below is the approved default setup. | ||
| + | [[File:UCDCartoPlugins.jpg|thumb|150px|left|Proper Carto setup]]<br style="clear:both" /> | ||
Latest revision as of 18:55, 7 November 2023
Setup
- Bring in:
- Carto cart
- Baylis cart
- ICE US machine
Start with Carto cart
- From the back of the cart, place the magnet under the table on the mount.
- Attach the signal cables to D and E on the Maquette amplifier
- Connect ECG cable to amplifier
- Connect power and ground cables
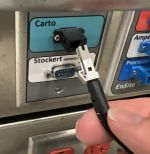
- Connect Stockert pump
- Connect Smart Ablate
- Connect Fiber optic cable
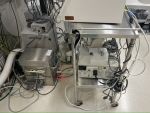
Baylis cart
- Plug in Baylis machine to power
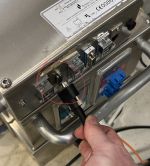
ICE ultrasound
- Plug in power
- Connect data cables
- Connect video cable
Check Carto cables
- Double check Carto cables on front of system. Below is the approved default setup.

